Tutorial: Beginner Smokey Eyesahdow (grey)
Have you seen the tutorials yet lovelies? and now, can you try it yourself? it an easy peasy way to do a smokey eye look if you're not familiar with blending technique. I'm not a Guru in Makeup, but I can do a simple one just to show you that applying an eyeshadow is not that hard as it's look.
So here is the palette that I've used in the tutorial, I'm using the mini palette no 16. the range colors are, Black to white and al the colors are shiny! I just love it.. it's not tooooo shiny and glittery, but it has this shine effect when ever you snap a picture. I LOVE IT!!

How to apply eyeshadow:
Refer to no 16 color range.
1. I start with the base color that id the medium grey color. Place the color to your entire eyelid.
2. take the white eyeshadow color, and place it onto your inner corner of your eyes and continue smudging the color to 1/3 part from the inner corner too..
3. take the darkest grey / black color to make place it at your upper eye lid so it can create shape or smokey eye effect. reminder: not over shade the color onto your upper eye lid, just 1/3 part of it. Blend the color upwards to create a smokey effect.
4. use the same tiny brush, place it at the bottom of your eye too!.
5. not to forget the highlights below your eye brow.
Now you're done!
chop!!
not done yet girls, continue with your favorite eye liner, and complete the total look with powder, lipstick and a blusher. I am using Elianto iquid liner, In2it Blusher and drug store lipstick in Pink.
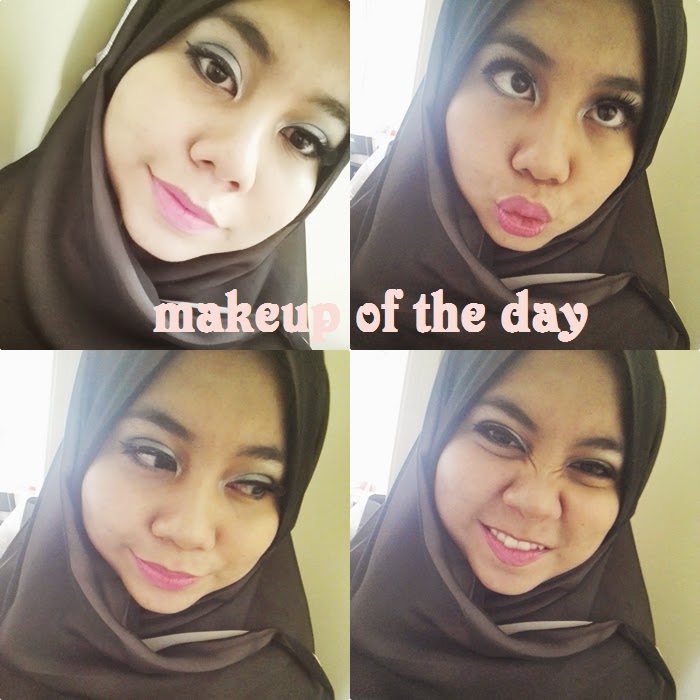
here is my final look.

I had a great time today, as this is my first video for 2015 and I'm very excited to do this look and to share it with you. Hope you like it and find it helpful. This tutorials is not for the experts in makeup but for the beginners. :)


Akak x pnh lg buat video tutorial. ..eheh..segan..cantik mekap tu...
BalasPadamNumi dulu memang suka buat makeup video, ada banyak dalam lappy cuma tak publish dkt youtube jer. Segan tu memang segan, tapi, lantak lah... janji kita tak buat benda salah.. hihi..
PadamAkak start la buat tutorials.. :) nt tag kita yer.
Thanks..
Gorgeous! :D
BalasPadamHana Blurbs
Thanks sis.. :)
Padammost welcome :D
PadamNice makeup :) Love the lip colour on you :)
BalasPadamhttp://marvelikalife.blogspot.com
Thanks Mizu.. :)
BalasPadamThe colour is Pink blossom. It's a 5 ringgit lipstick I bought at Central Market. hehehee